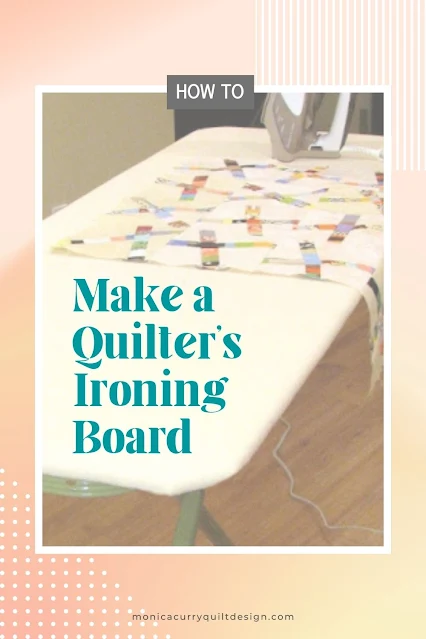
HOW TO MAKE A QUILTERS IRONING BOARD
I've used a regular ironing board for quilting my whole life. So, when I started seeing these wide ironing boards for quilting, I knew I had to have one. I wish I'd made one of these years ago because it truly makes a difference when ironing quilt tops. If you have an ironing board, you can make one of these quilting boards yourself in a day.
SUPPLIES
- Standard metal ironing board
- 20" x 55" - 3/8" or 1/2" plywood (No saw? Most hardware stores will cut this for you.)
- [8] screws
- [8] washers
- [1] 26" x 60" cotton duck fabric.
- [1] 24" x 60" insulated batting. (I used Insul-Brite® by Warm Company)
- [2] 24" x 60" 100% cotton quilt batting TOOLS
- Measuring Tape
- Pencil
- Screwdriver
- Handsaw
- Sandpaper
- Staple gun and staples shorter than the thickness of your board
1. Measure and mark 1½ inches from the corners of the board. (Fig.1).
3. Staple the fabric and batting layers evenly around the edge of the board in this order.
(Fig. 3)
(Fig. 3)
Layer 1: Quilt Batting
Layer 2: Insul-Brite® batting shiny side up
Layer 3: Dotton Duck
Layer 4: Removable cotton ironing board cover.

Figure 3

Figure 3 (Detail)
4. Place ironing board upside down onto the board top being sure it is lined up correctly.
Mark where each screw will go. (Fig. 4)
Mark where each screw will go. (Fig. 4)

Figure 4
5. Screw the screws with the washers through the holes in the mesh. (Fig 5)

Figure 5

Figure 5


No comments:
Post a Comment