INSTRUCTIONS
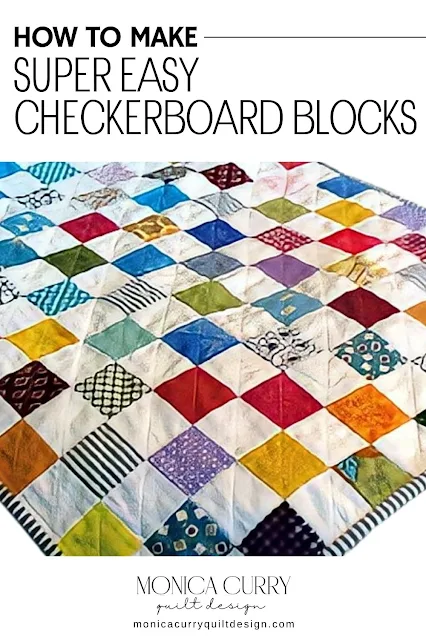
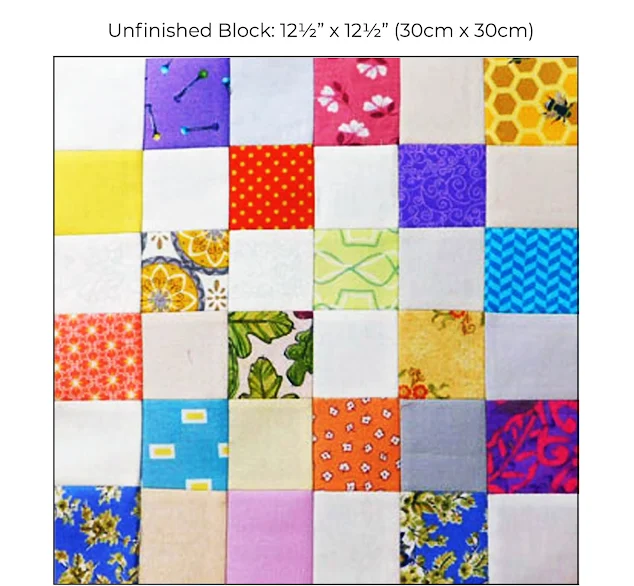
I discovered this technique for making scrap checkerboard blocks several years ago. I used it to make my grand-niece a doll quilt (above). With these few easy steps, the results are so worth it. When you're finished, every square will be aligned perfectly and you'll have a strong base to join the blocks so they won't stretch out of shape.Finished Block: 12"x 12" (30 cm x 30 cm))
1. First, you'll need a non-woven, lightweight, single-sided fusible interfacing. I purchased this very inexpensive one on Amazon.
2. Cut [18] 2½-inch (6 cm) colour squares and [18] 2½-inch (6 cm) light colour squares.
3. Cut [1] 13" x 13" (31 cm x 31 cm) square of interfacing.
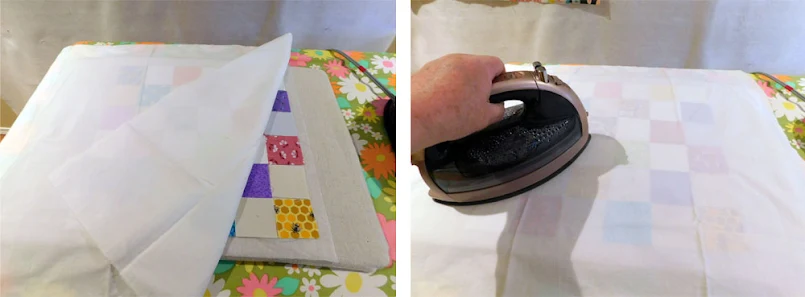
4. Place squares 1/2" from the edges on the adhesive side of the interfacing. Butt together the squares as shown below alternating between light and dark colours.
5. Place a piece of cotton over the squares and press to adhere them to the fusible web.
6. Fold the first row right sides facing and sew a "fat" 1/4" seam allowance. Repeat this until all the rows are stitched.

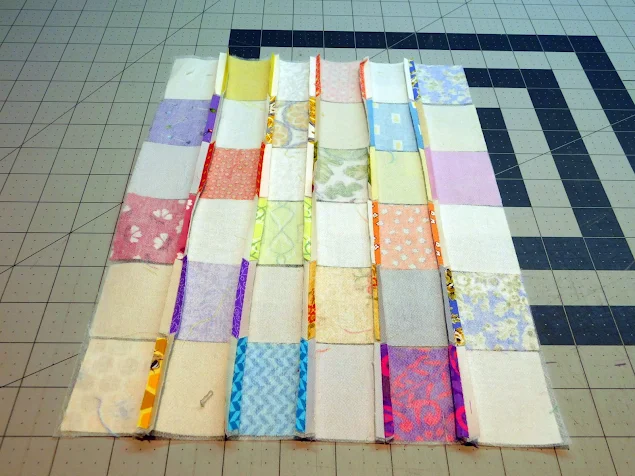
7. Your first set of rows will look like this.
8. Trim a about 1/8" off the edge of each seam row and press seam open. Be very careful to not cut the stitches!

9. Stitch the horizontal rows and trim the seams the same as you did with the vertical rows.
10. Press down all your seams. This is what your stitched squares will look like from behind.


Absolutely amazing!!!
ReplyDeleteHi from scorching UK, just found your amazing and most helpful site, I have taken down to go shopping to make Best Press alternative, adding bergamot will make my husband very happy, he loves orange scent . I found the tutorial for checkerboard quilting with interfacing, how could I apply this method to make a larger throw size quilt? Just love love the accuracy that can be obtained. Off to sort scrap buckets.!
ReplyDelete